


How to Install Solar Panels at Home
Solar panels can be installed at home and can help homeowners to produce clean energy, to be less dependent on the utility grid, and to see lower energy costs in the long haul. But, like any other residential solar project, successful installation goes beyond just installing the solar panels on a roof. You must assess energy use, determine which system is a good fit, inspect roof surface, ensure a match-up of system components, obtain the necessary permits, and ensure the electrical system is installed safely.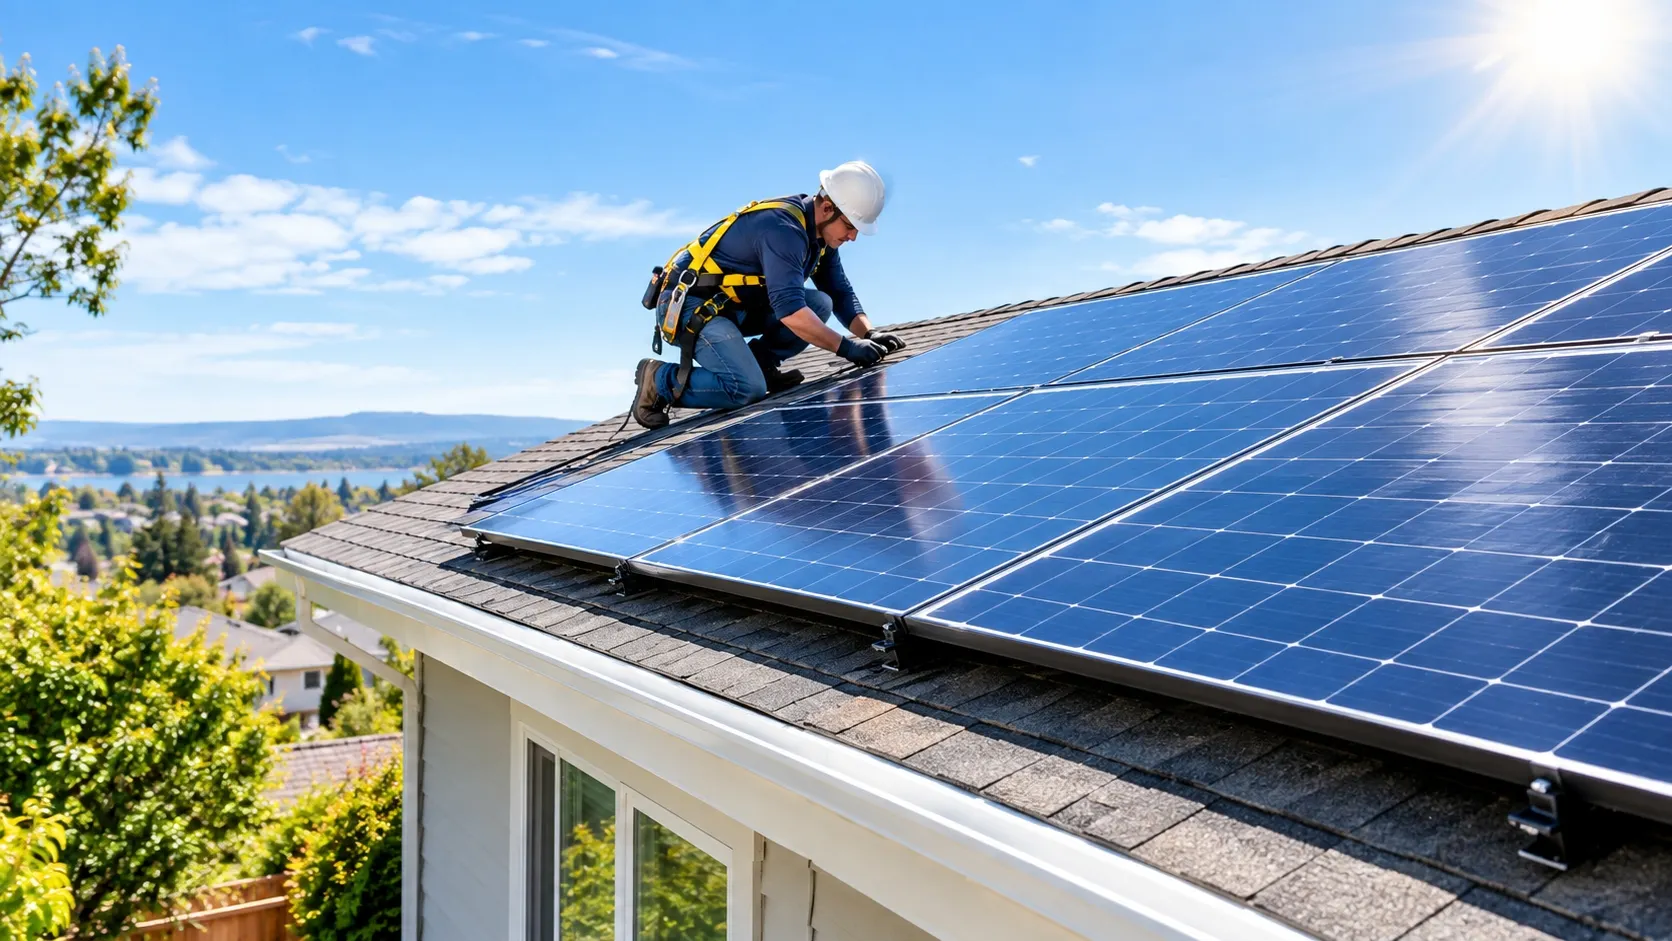
This guide details the process of installing solar panels in your home, the equipment required, how solar systems operate in residential settings, and who should install them.
What Do You Need to Install Solar Panels at Home?
The components of a typical home solar power system include:
- Solar panels
- Solar mounting or racking system
- Solar inverter or microinverters
- DC and AC electrical wiring
- Disconnects and protection equipment
- Monitoring equipment
- Utility meter or compatible energy meter
- Optional solar battery storage
The electricity created by solar panels is direct current (DC). The inverter changes that electricity into alternating current (AC) which is the electricity that household appliances use.
When power is cut off, a compatible battery energy storage system can store the solar power that is not needed for the time being and release it later.
Step 1: Determine Your Home's Energy Requirements
When buying solar panels, find out the amount of electricity your house consumes.
Look at the last 12 months' electricity bills, and determine the average amount of electricity that you use each month and annually. Be mindful of seasonality as the ability to heat, cool, operate appliances such as electric water heaters, can all make a difference to electricity demand.
Future electricity requirements also need to be taken into account. An electric vehicle, heat pump, swimming pool or larger air-conditioning unit could mean that your home uses more energy.
The objective is not to put up as many panels as possible. The system should be sizable enough to meet your electricity needs and fit on your roof, in your locale, and within your budget.
Step 2: Check Whether Your Roof Is Suitable
Your roof is one of the most important factors in a residential solar installation.
Before installation, evaluate:
- Roof age and condition
- Roof material
- Available roof area
- Roof orientation
- Roof slope
- Shade from trees or nearby buildings
- Structural capacity
- Access for installation and maintenance
A roof in poor condition may need repairs or replacement before solar panels are installed. The U.S. Department of Energy recommends evaluating the roof's age and condition as part of the solar planning process.
Solar panels generally perform best where they receive strong, unobstructed sunlight for much of the day. Significant shading can reduce energy production, so trees and surrounding structures should be considered during system design.
Step 3: Choose the Right Solar System
There are several types of residential solar systems.
Grid-Tied Solar System
A grid-connected system works with your local utility. Solar panels generate electricity during the day, while the home can draw electricity from the grid when solar production is insufficient.
This is a common choice for homeowners who want to reduce grid electricity consumption without installing a large battery system.
Solar System With Battery Backup
A solar-plus-storage system combines photovoltaic panels with batteries. Excess electricity can be stored and used later, such as during nighttime or certain power outages.
Battery storage can also be useful for homeowners who want greater energy independence.
Off-Grid Solar System
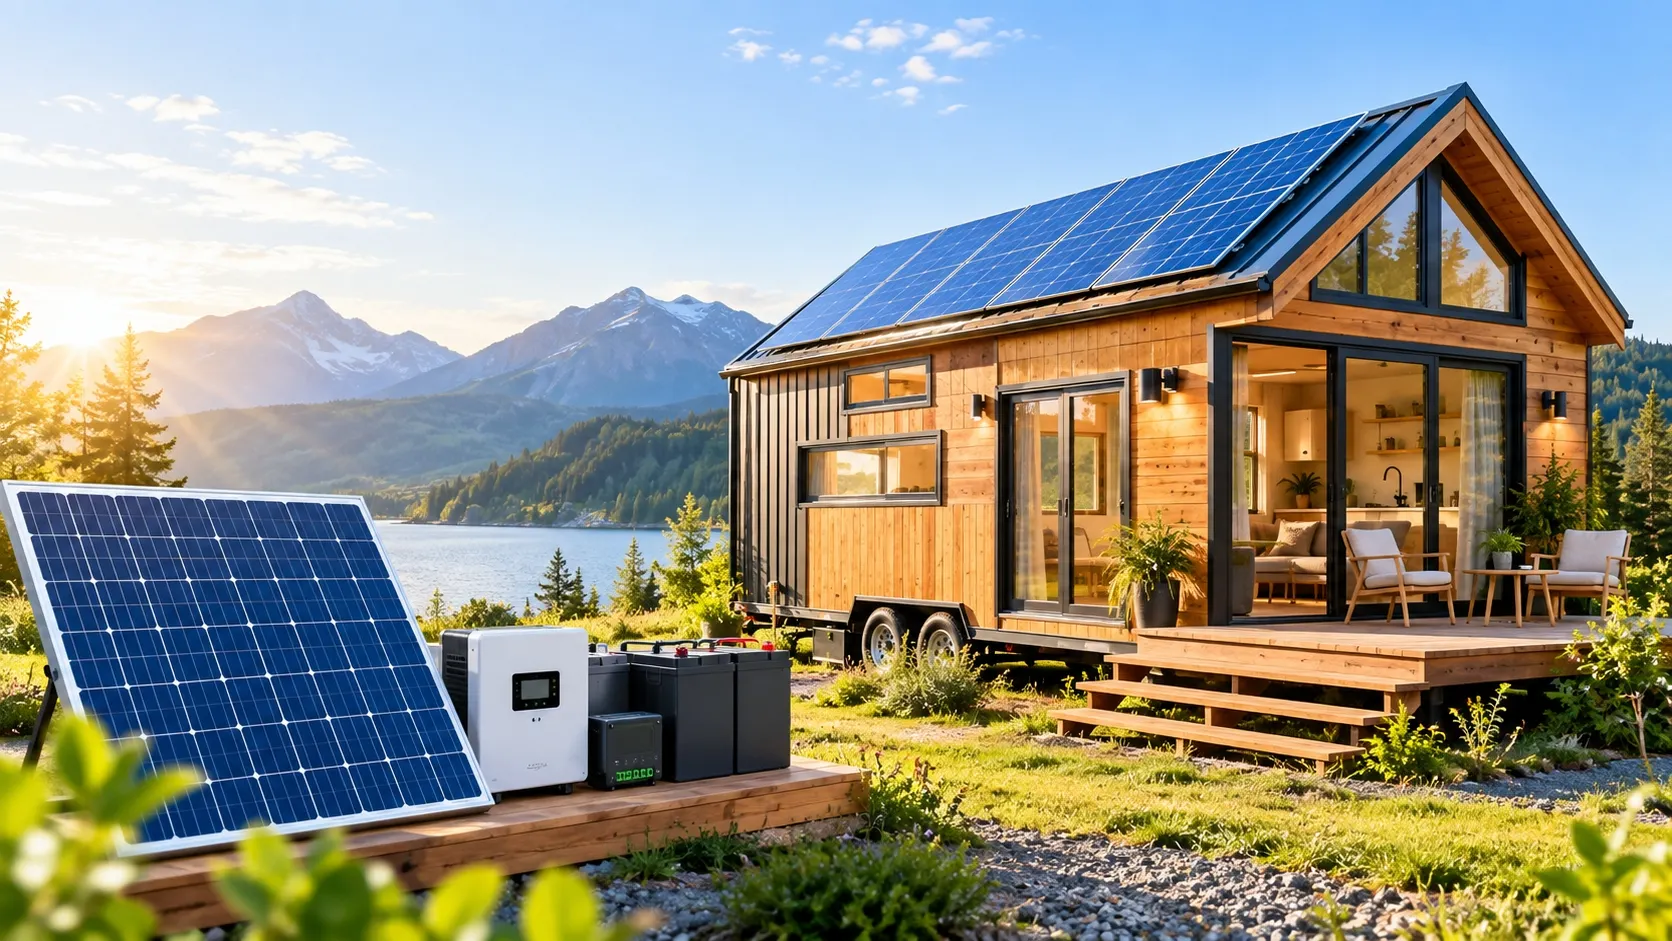
An off-grid solar system operates without a utility connection. Because there is no grid available as backup, the system normally requires sufficient battery storage and careful system sizing.
Off-grid systems are particularly relevant for remote homes, cabins, RVs, and properties without reliable utility service.
Step 4: Select Solar Panels and Other Equipment
Solar panels are available in different technologies, sizes, power ratings, and physical designs.
Traditional rigid photovoltaic modules remain a common option for residential rooftops. Other options include bifacial and flexible solar panels, although their suitability depends on the installation environment.
When choosing panels, consider:
- Rated power output
- Efficiency
- Physical dimensions
- Temperature performance
- Warranty
- Manufacturer reliability
- Compatibility with the inverter and mounting system
The inverter is equally important. Depending on the system design, homeowners may use a central string inverter, microinverters, or other inverter configurations.
A properly matched system can improve reliability and simplify monitoring and maintenance.
Step 5: Design the Solar Panel Layout
Once the equipment is selected, the solar array needs to be designed.
The installer determines where the panels will be positioned and how they will be connected electrically. The layout should consider roof dimensions, shading, panel orientation, wiring paths, access requirements, and local building and electrical codes.
The mounting structure must also be compatible with the roof type.
For example, asphalt-shingle roofs, tile roofs, metal roofs, and flat roofs may require different mounting approaches.
Professional system design is especially important because the racking system transfers the weight and wind loads of the solar array to the building structure.
Step 6: Obtain Permits and Utility Approval
Residential solar installation is not simply a home improvement project. Depending on where you live, permits, inspections, and utility approval may be required.
Typical requirements can include:
- Building permits
- Electrical permits
- Structural review
- Solar system inspection
- Utility interconnection approval
Requirements vary by jurisdiction and utility provider. The U.S. Department of Energy recommends working with qualified installers who understand local permitting and interconnection requirements.
Do not assume that purchasing a complete solar kit automatically means you can connect it to the home's electrical panel without approval.
Step 7: Install the Mounting System
During a rooftop installation, the mounting system is installed before the solar modules.
Installers carefully measure and mark the panel locations. Roof attachments are then secured according to the manufacturer's instructions and the requirements of the particular roof structure.
Proper waterproofing is critical. Poorly installed roof penetrations can lead to leaks and long-term structural damage.
The mounting rails must also be properly aligned and secured so that the solar panels remain stable under wind and other environmental loads.
Step 8: Mount the Solar Panels
After the racking system is installed, the photovoltaic panels are positioned on the rails and secured with compatible clamps or mounting hardware.
The panels are then connected according to the system's electrical design.
At this stage, installers also need to manage cables carefully. Wiring should be protected from mechanical damage, excessive heat, moisture, and other environmental conditions.
Because solar panels can generate electricity whenever they receive light, electrical safety is extremely important during installation.
Step 9: Install the Solar Inverter
The inverter converts the DC electricity generated by the solar array into AC electricity suitable for household use.
The location of the inverter should provide appropriate ventilation, protection from environmental exposure, and convenient access for maintenance.
If the system uses microinverters, each module or group of modules may have its own power conversion equipment. A string-inverter system uses a centralized inverter configuration.
The best choice depends on the system size, roof layout, shading conditions, equipment design, and project requirements.
Step 10: Connect the Solar System to the Home
After the solar array and inverter are installed, the system can be integrated with the home's electrical infrastructure.
This is one of the most important stages of the project.
The connection may involve:
- Solar disconnects
- Electrical protection devices
- Inverter connections
- Main electrical panel connections
- Grounding and bonding
- Monitoring equipment
- Utility meter configuration
Electrical work should follow applicable electrical codes and manufacturer instructions. In many locations, a licensed electrician or qualified solar professional is required for this portion of the installation.
Step 11: Install a Solar Battery if Needed
A battery is optional for many grid-connected systems.
A battery can store excess solar electricity and make that energy available later. This can be useful when solar production is low or when backup power is needed.
When selecting a battery, consider usable capacity, power output, cycle life, warranty, installation requirements, and compatibility with the inverter.
Battery sizing should be based on what you want the system to accomplish. A battery intended to keep a few essential appliances operating during an outage will have different requirements from one designed to provide whole-home backup.
Step 12: Inspection, Utility Approval, and System Activation
The panels are not installed until the work is done.
A local inspection may be required for the completed system. The utility also has to allow the system to be a generator on the grid.
Permitting, inspection, and utility approval can be a substantial part of the entire solar installation process, EnergySage notes.
Upon completion of all necessary approvals, the system can be activated as per the installer and/or the utility's procedures.
Can You Install Solar Panels Yourself?
It's a complicated answer that goes with the nature and dimensions of the solar system, local rules and regulations, and your technical skill.
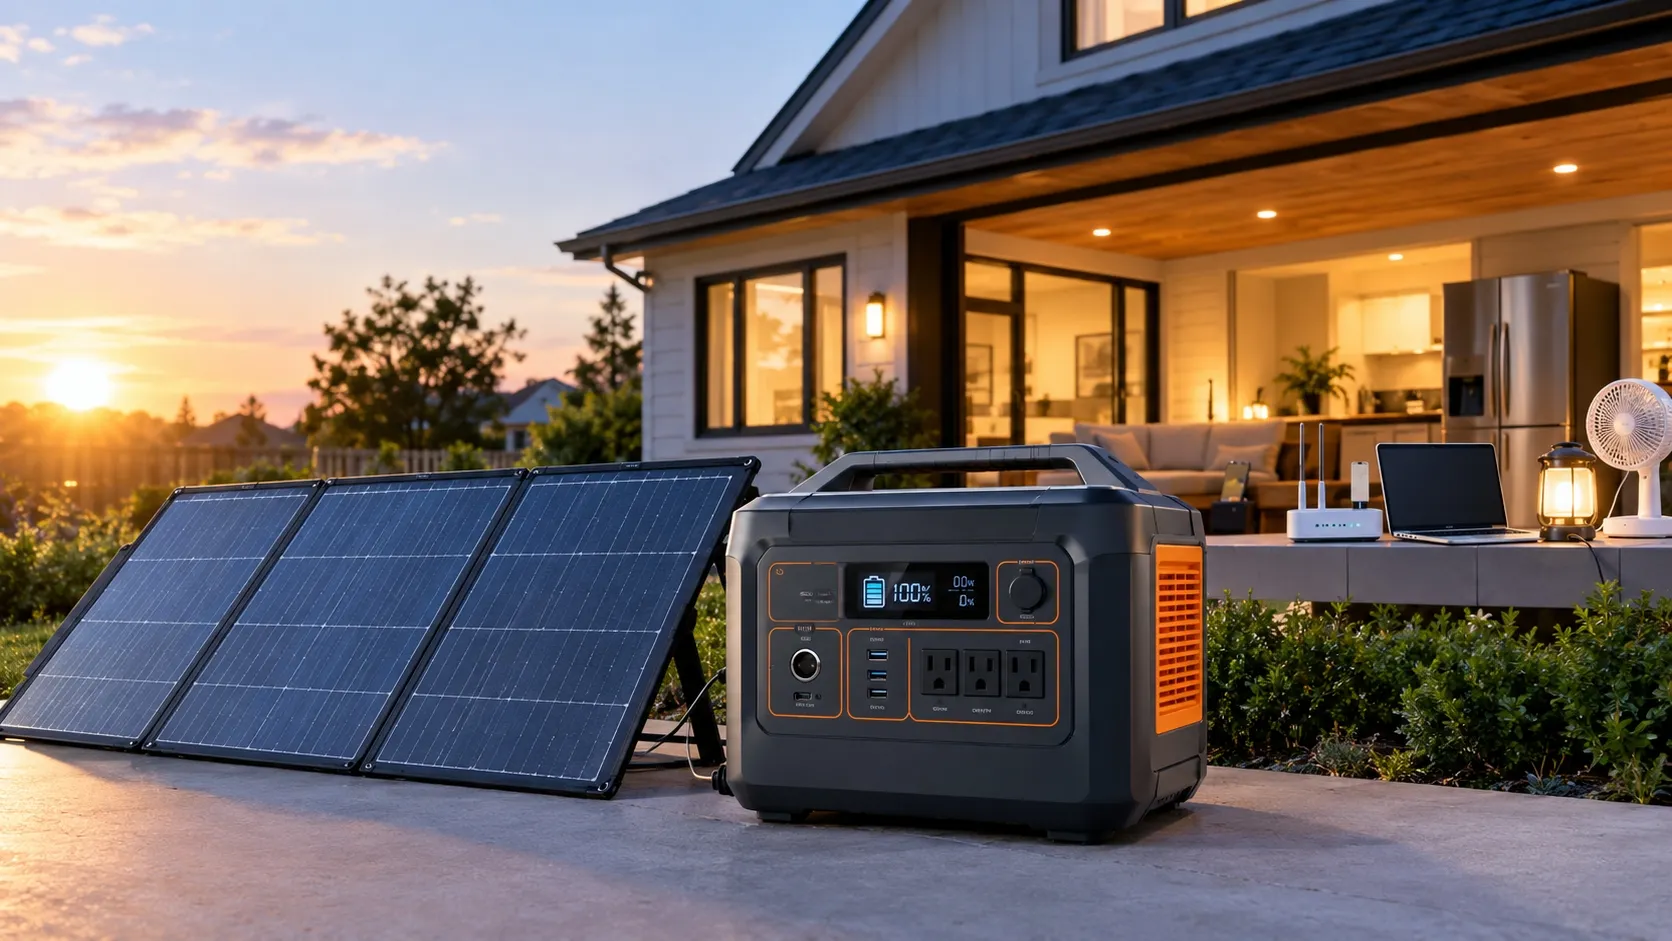
For the more experienced do-it-yourselfers, there are small, off-the-grid, or portable solar systems that could be appropriate if you take the time to carefully follow the manufacturer's instructions.
But putting in a permanent roof on top of a house's electrical service is significantly more complex. It includes working at height, penetrations of roofs, DC electricity, AC wiring, grounding, structural concerns, permits, and inspections as well as interconnection with utilities.
The U.S. Department of Energy advises hiring a professional when installing solar panels on residential homes, and encourages the use of qualified and certified installers for solar energy projects.
A good strategy is to do what you can and let the experts do what they do best when it comes to structural and electrical issues.
How Much Does Home Solar Installation Cost?
The total cost of a solar installation depends on many factors, including:
- Number of solar panels
- Panel technology
- Inverter type
- Battery storage
- Roof complexity
- Mounting equipment
- Electrical upgrades
- Labor
- Permits
- Local incentives
- Utility requirements
While a small do-it-yourself solar system will likely be much less expensive than a whole-home system with battery storage, a professionally installed residential system with battery storage can be a large investment.
Homeowners need to consider the cost of the panels, but also the total installed cost and the electricity generation throughout the panels' expected lifetime.
How to Maintain Solar Panels After Installation
Solar panels typically do not need much maintenance, but should be inspected periodically.
Keep an eye on:
- Dirt and debris accumulation
- Tree growth and new shading
- Damaged panels
- Loose or damaged cables
- Inverter warnings
- Reduced energy production
- Battery system alerts
Most of today's systems have monitoring software which can help the homeowner keep track of the production and detect possible performance issues.
If production suddenly and inexplicably decreases, don't try to do electrical repairs, call a qualified solar professional.
Final Thoughts
Before buying solar panels, you should plan the installation of solar panels at home.
To start, get to know how much electricity you use. Afterwards, assess your roof, install the correct type of system, choose the solar panels and inverters that will fit, design the layout, get the necessary permits, setup the mounting system, wire up the electrical components, and conduct inspection and utility approvals.
If you are thinking about installing solar panels on your home, it will help you to better understand the process when making equipment comparisons and when you're communicating with installers. Rooftop electrical and grid connected work may have many safety and regulatory considerations though and it may be desirable to hire professionals.
A solar energy system installed at home can generate clean electricity for a long time, with the right size, quality components, proper installation and regular upkeep and monitoring, reducing reliance on conventional electric grid energy resources.
Share on Social:


- NEXT: Best Solar Generator for Home Backup
- NEXT: Null
In This Article
- 1 What Do You Need to Install Solar Panels at Home?
- 2 Step 1: Determine Your Home's Energy Requirements
- 3 Step 2: Check Whether Your Roof Is Suitable
- 4 Step 3: Choose the Right Solar System
- 5 Step 4: Select Solar Panels and Other Equipment
- 6 Step 5: Design the Solar Panel Layout
- 7 Step 6: Obtain Permits and Utility Approval
- 8 Step 7: Install the Mounting System
- 9 Step 8: Mount the Solar Panels
- 10 Step 9: Install the Solar Inverter
- 11 Step 10: Connect the Solar System to the Home
- 12 Step 11: Install a Solar Battery if Needed
- 13 Step 12: Inspection, Utility Approval, and System Activation
- 14 Can You Install Solar Panels Yourself?
- 15 How Much Does Home Solar Installation Cost?
- 16 How to Maintain Solar Panels After Installation
- 17 Final Thoughts
