


DIY Solar Panel System: A Complete Home Guide
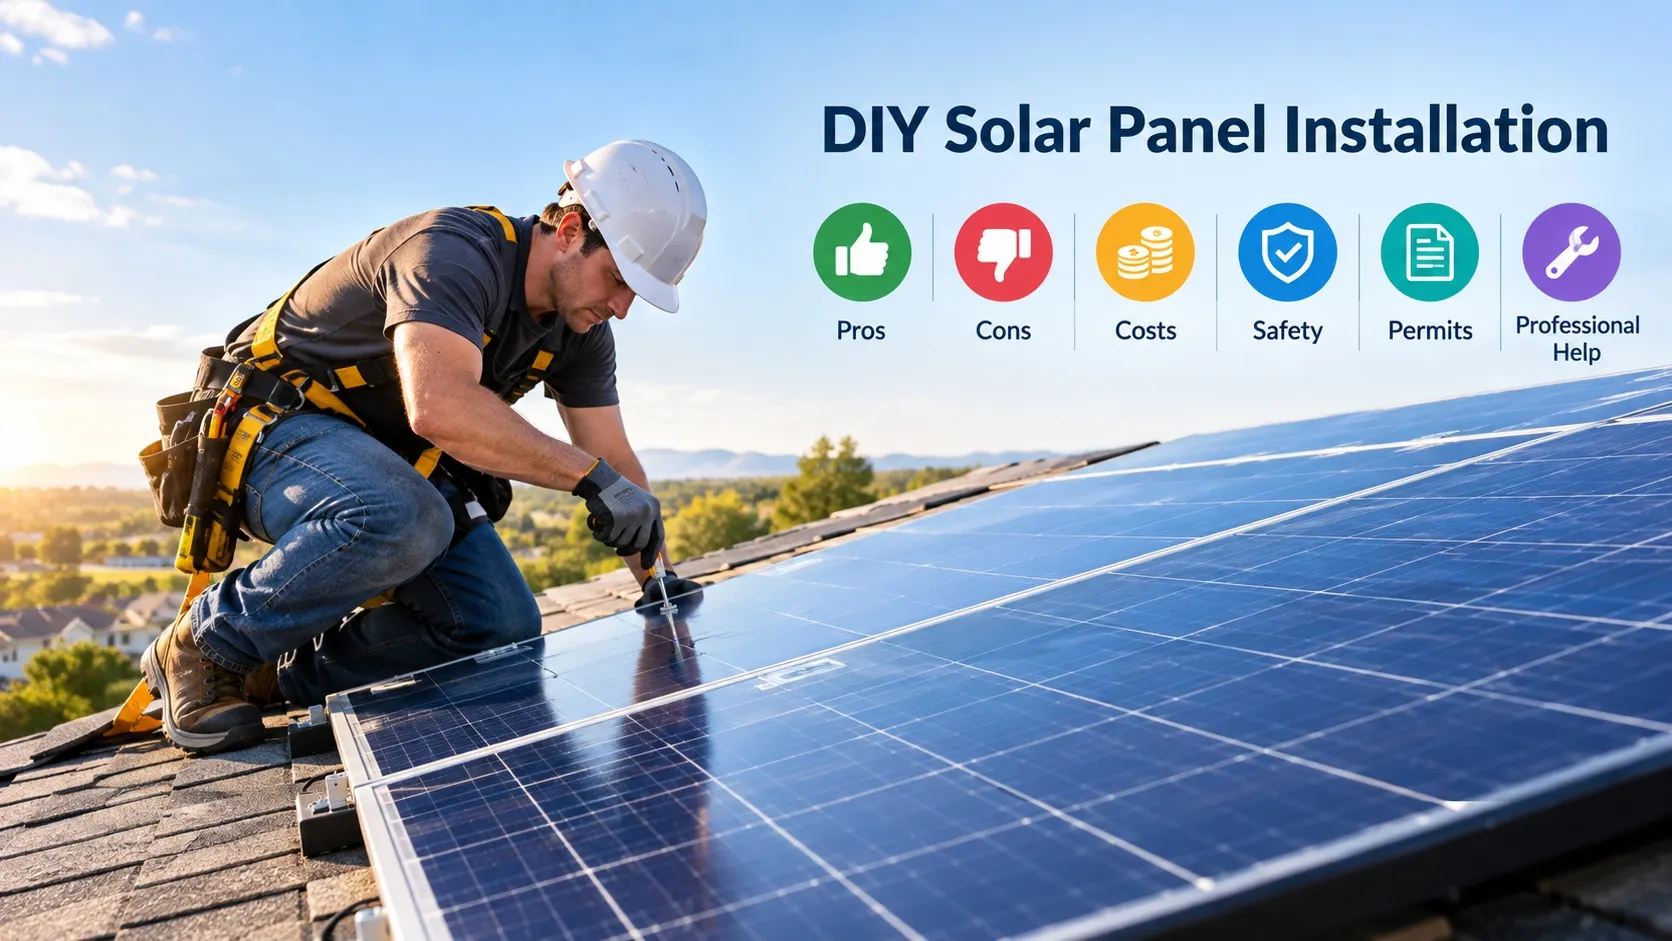
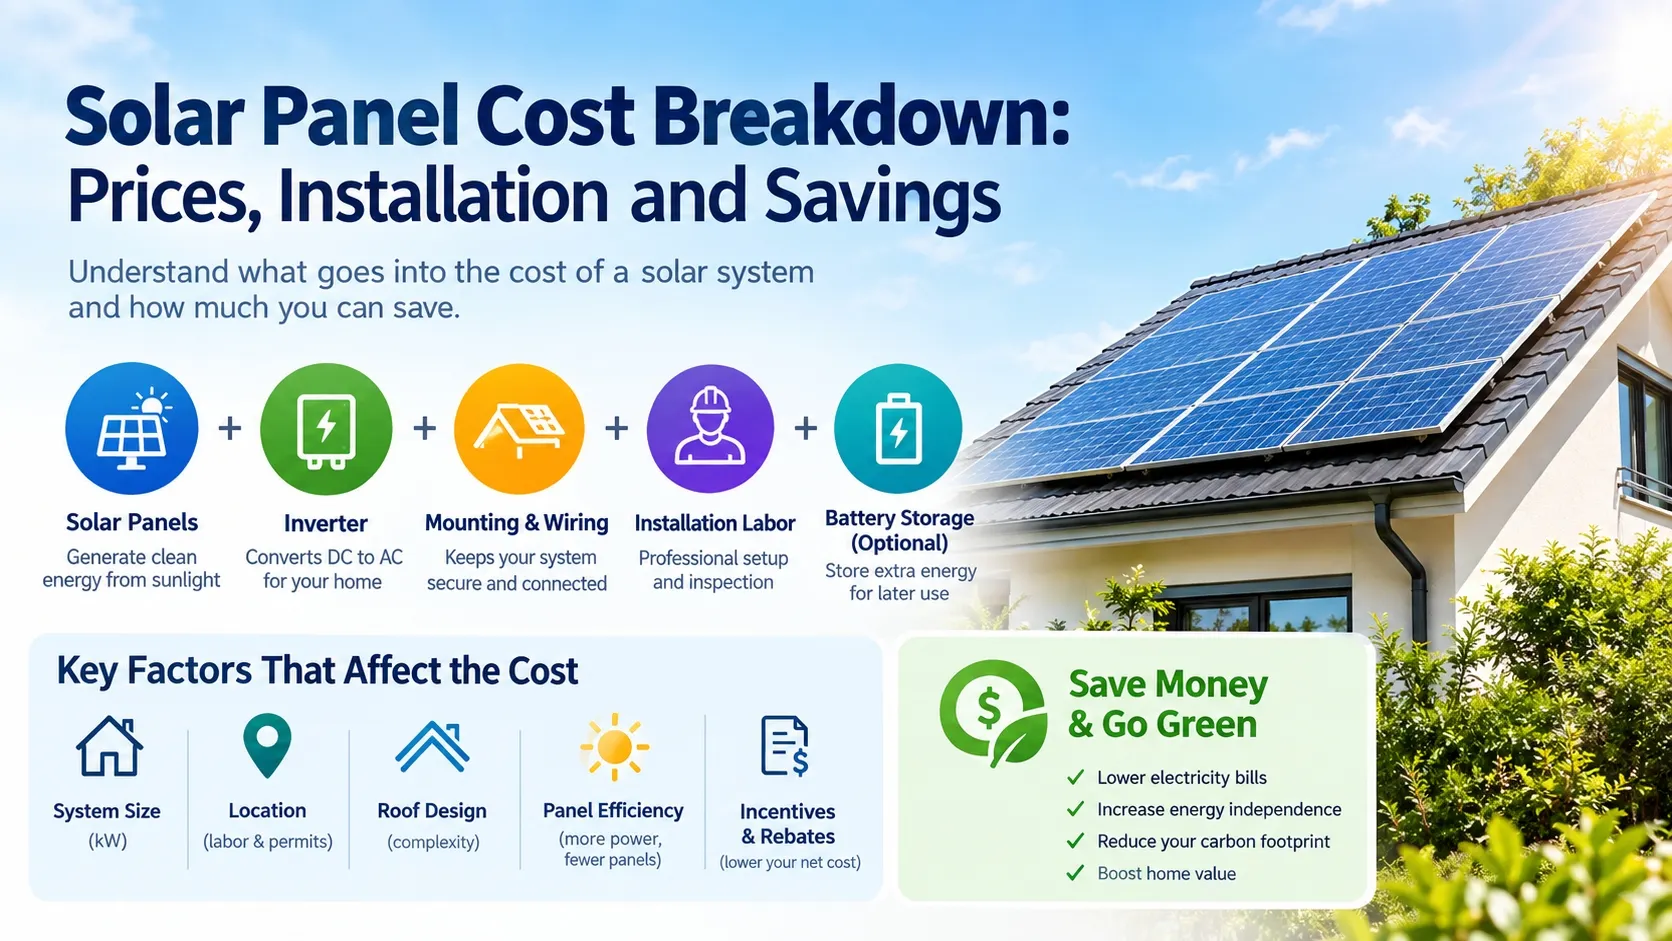
If you are looking to power an RV, shed, workshop, emergency backup power or even your home with clean energy, this DIY solar panel system is a viable option. Homeowners can buy individual adequate solar panels, batteries, inverters, mounting hardware, and other components to create a system that meets their specific energy needs.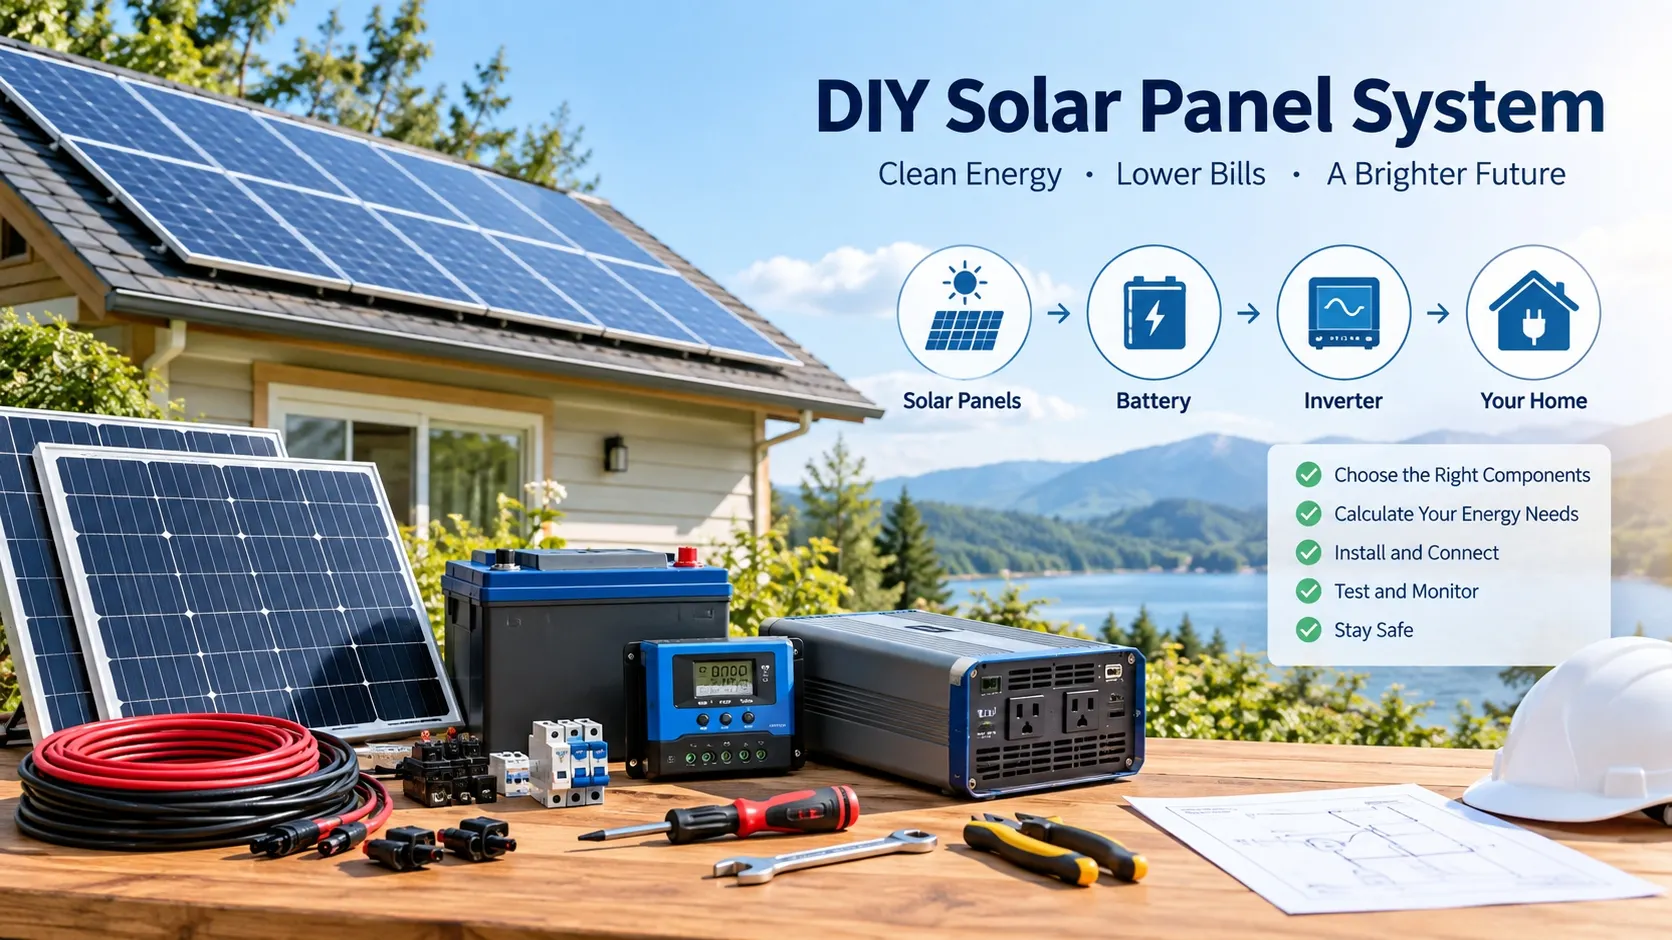
But, not all solar projects can be done by yourself. Small off grid systems and portable solar systems are typically easier to manage, whereas rooftop, grid connected and whole home solar systems have electrical codes and permits, utility requirements and safety considerations.
This guide outlines the components of a DIY solar panel installation, how to size it, how to install it safely, and when to consider hiring professional help.
What Is a DIY Solar Panel System?
A DIY solar panel system is a solar power setup that the user plans, purchases, and assembles independently. A typical system may include:
- Solar panels
- Solar cables and connectors
- Charge controller
- Battery storage
- Inverter
- Mounting hardware
- Fuses, breakers, and disconnects
- Monitoring equipment
If the application is simpler, a solar generator or portable power station may be able to perform several of these functions in one device. The user can plug in the appropriate solar panels directly into the power station without the need for the user to install a battery, an inverter, and a charge controller separately.
Solar systems can be made at home and can be employed at a campsite, RV, cabin, shed, workshop, remote power site, emergency power, and select home backup applications.
However, in the case of permanent grid-tied solar installations, homeowners should consult their local rules and regulations and should seek the advice of a qualified electrician.
Why Choose a DIY Solar System?
Flexibility is one of the key benefits of DIY solar.
The small system design can be tailored to the specific appliances and devices that you currently need to run your system. The RV could, for instance, only need enough power for lights, telephones, computers and a refrigerator. For tools and battery chargers, the workshop might require extra power.
Home solar installation can also offer more choice of equipment. Depending on the budget, you can select the size of the panel, battery capacity, inverter output and expandability.
Another advantage is the scalability. You can implement the essential loads first and add more solar panels and/or battery capacity to the system in the future if it is able to handle the extra load.
The most significant aspect is that a DIY project enables users to be aware of their own energy use. You can keep track of how much energy your batteries are using, and how much energy the sun is producing, and then make a decision on what appliances use too much energy and make a change.
What Do You Need for a DIY Solar Panel System?
Before starting a DIY solar installation, make sure all components are electrically compatible.
1. Solar Panels
Solar panels convert sunlight into DC electricity. Panel wattage determines the potential amount of electricity the panels can produce, but actual output depends on sunlight intensity, shading, temperature, orientation, panel angle, and weather.
When selecting panels, check:
- Rated wattage
- Operating voltage
- Open-circuit voltage
- Operating current
- Physical dimensions
- Connector type
- Compatibility with the charge controller or power station
More panels do not automatically mean better performance. The solar input limits of the battery or power station must always be respected.
2. Battery Storage
Solar panels generate electricity during daylight hours, but energy is often needed after sunset. A battery stores excess solar energy for later use.
Battery capacity is normally measured in watt-hours (Wh) or kilowatt-hours (kWh).
For example, a 2,000 Wh battery theoretically stores 2 kWh of energy. Actual usable energy depends on system efficiency, battery management, operating conditions, and manufacturer specifications.
3. Inverter
Solar panels and batteries generally provide DC electricity, while many household appliances require AC power.
An inverter converts DC electricity into usable AC electricity.
When choosing an inverter, consider both continuous output and peak output. Refrigerators, pumps, compressors, and power tools may require substantially more power when starting than they consume during normal operation.
4. Charge Controller
A charge controller regulates electricity flowing from the solar panels to the battery.
Traditional DIY solar systems commonly use an MPPT or PWM charge controller. Many modern portable power stations already include integrated solar charging management, eliminating the need for a separate controller.
5. Cables, Connectors, and Safety Equipment
Cables and connectors are essential parts of the system, not accessories to overlook.
Use appropriately rated components and make sure connectors are compatible. Depending on the installation, you may also need fuses, circuit breakers, disconnects, grounding equipment, weather-resistant enclosures, and mounting hardware.
How to Size a DIY Solar Panel System
Correct system sizing is one of the most important steps.
Start by making a list of the devices you want to operate. Record the wattage of each appliance and estimate how many hours it will operate each day.
Use this basic calculation:
Daily Energy Consumption = Appliance Wattage × Operating Hours
For example, if a 100-watt device runs for five hours:
100 W × 5 hours = 500 Wh
Repeat the calculation for each device and add the results together.
For backup applications, focus on essential loads rather than attempting to power every appliance in the house.
You should also consider startup power. A refrigerator rated at a relatively low running wattage may temporarily require significantly more power when its compressor starts.
Step-by-Step DIY Solar Panel Installation
Step 1: Define Your Energy Requirements
Determine what the system is designed to accomplish.
Do you need portable power for camping? Electricity for a shed? Emergency backup during power outages? Or energy for an off-grid cabin?
The answer determines the appropriate system architecture.
Step 2: Calculate Energy Consumption
Calculate the estimated daily watt-hours of your essential devices.
For a backup system, prioritize equipment such as:
- Refrigerators
- Wi-Fi routers
- LED lights
- Smartphones
- Laptops
- Fans
- Communication equipment
Avoid sizing the system around unnecessary high-power loads unless your solar array and battery are designed to support them.
Step 3: Select Compatible Solar Panels
Choose solar panels based on the required energy production and available installation space.
For portable systems, carefully compare the panel's voltage and current specifications with the solar input range of the portable power station.
For permanent installations, also consider roof orientation, shading, mounting structure, weather exposure, and local building requirements.
Step 4: Choose Battery Capacity
Battery size determines how long your stored solar energy can operate your equipment.
A larger battery can provide longer runtime, but it also increases system size and cost.
If your energy requirements may increase in the future, an expandable battery system can provide more flexibility.
Step 5: Install and Position the Solar Panels
Solar panels should receive as much direct sunlight as practical.
Avoid shade from:
- Trees
- Buildings
- Fences
- Chimneys
- Vehicles
- Other structures
For portable panels, repositioning them throughout the day may improve solar collection.
For fixed installations, secure the mounting system properly and make sure the structure is suitable for local weather conditions.
Step 6: Connect the Solar System
Follow the manufacturer's wiring instructions carefully.
Before connecting components:
- Confirm voltage specifications.
- Check polarity.
- Verify connector compatibility.
- Confirm maximum solar input.
- Use properly rated cables.
- Keep electrical connections protected from moisture.
- Do not exceed system limits.
Never improvise electrical connections simply because two connectors appear physically compatible.
Step 7: Test and Monitor the System
Once the system is assembled, test it before depending on it for emergency power.
Monitor:
- Solar input
- Battery charging rate
- Battery state of charge
- AC output
- Device power consumption
- Charging time
If solar production appears lower than expected, check for shading, dirt, poor panel positioning, loose connections, or unsuitable weather conditions.
Testing the system under real operating conditions provides a better understanding of its actual performance.
Portable Power Stations for DIY Solar
For homeowners who want a simpler approach, a solar-compatible portable power station can reduce the number of individual components required.
Instead of separately installing a battery, inverter, charge controller, AC outlets, and monitoring equipment, an integrated power station can combine these functions into one system.
This type of setup can be particularly useful for:
- Emergency backup
- RV power
- Camping
- Sheds
- Workshops
- Remote workspaces
- Small off-grid applications
The key is still compatibility. Solar panels must operate within the power station's specified voltage, current, and wattage limits.
DIY Solar Safety Considerations
DIY solar should always prioritize electrical and physical safety.
For portable or small off-grid systems, follow the manufacturer's installation instructions and use correctly rated cables and connectors.
Roof-mounted solar requires additional considerations because of fall hazards, structural loading, weather exposure, and electrical requirements.
Grid-connected solar is more complex. Connecting a solar system directly to a home's electrical panel can require permits, inspections, utility approval, grounding, disconnects, and code-compliant equipment.
If you are not qualified to perform electrical work, hiring a licensed electrician is the safer approach.
How Much Solar Power Do You Need?
The answer depends on your energy consumption.
A small setup may be sufficient for phones, lights, laptops, and small electronics. A larger system is necessary for refrigerators, power tools, pumps, HVAC equipment, or whole-home backup.
A useful starting point is:
Solar Array Size → Daily Energy Production
Battery Capacity → Energy Available After Solar Production Stops
Inverter Capacity → Maximum Power Your Appliances Can Use
Understanding these three numbers makes it easier to select a balanced DIY solar system.
DIY Solar Panel System: Common Questions
Can I install a solar panel system myself?
Yes, some small portable and off-grid solar systems are suitable for DIY installation. Permanent rooftop and grid-connected systems can involve electrical, structural, permitting, and utility requirements, so professional assistance may be appropriate.
Is DIY solar cheaper than professional installation?
A DIY system can reduce installation labor costs, particularly for small projects. However, the total cost depends on panels, batteries, inverters, mounting hardware, wiring, safety equipment, permits, and other components.
Can I use a portable power station with solar panels?
Yes. A compatible portable power station can store solar energy and provide AC and DC outputs. Always verify that the solar panel specifications fall within the power station's supported input range.
How many solar panels do I need?
The number is determined by the wattage of the panels, daily electricity usage, sun availability, system losses, and desired charging time. Determine how much energy you need before you select panels based on their size.
Can DIY solar power an entire house?
Whole home and grid connected systems are much more complicated than small-scale DIY solar installations, but a well designed solar-plus-storage system can be the foundation of significant household loads. Permits, local electrical codes, utility requirements, equipment compatibility and professional installation may apply.
Final Thoughts
A home solar panel system can help you produce renewable power and store it at your cabin or RV, shed or workshop or for outdoor projects or as a backup power supply in case of an emergency.
The most crucial thing to do is not to purchase the biggest solar panel or battery. It is developing a system to meet your real energy needs.
First, figure out what loads you want to power, then work out daily energy usage, select a compatible solar panel selection and battery storage, determine the right inverter or portable power station size, and strategically position your panels. Next test and monitor system before use.
DIY solutions offer flexibility and hands-on control for simple portable and off-grid applications. If the system is to be installed on a roof, connected to the electrical grid or installed throughout the home, local ordinances and electrical expertise need to be considered during the design process.
A carefully designed solar system can deliver reliable solar power and enable homeowners to manage energy use and consumption by who, how, and when.
Share on Social:


- NEXT: DIY Solar Panel Installation: Pros, Cons & Costs
- NEXT: Null
In This Article
- 1 What Is a DIY Solar Panel System?
- 2 Why Choose a DIY Solar System?
- 3 What Do You Need for a DIY Solar Panel System?
- 4 How to Size a DIY Solar Panel System
- 5 Step-by-Step DIY Solar Panel Installation
- 6 Portable Power Stations for DIY Solar
- 7 DIY Solar Safety Considerations
- 8 How Much Solar Power Do You Need?
- 9 DIY Solar Panel System: Common Questions
- 10 Final Thoughts
